Adding / Editing a User
Only users with administrator privileges can add/edit other users.
To add a User:
- From the main menu, click on Add and point to New User under User.
- In the new pop-up, select the Create Like User. By default, the logged-in user's name is populated in the drop-down.
The following details of the user will be copied over to the new user:- Work Calendar
- Keywords
- Cost Rate
- Bill Rate
- Custom Fields data
- Security: Workspace: Roles, Administrator privilege.
- Dashboard reports
- Preferences
- Favorite reports of the user (Shared reports i.e reports which are not private).
- Click Save. The new user is added.
- When you add users, an email is sent to them with instructions on logging in to Celoxis.
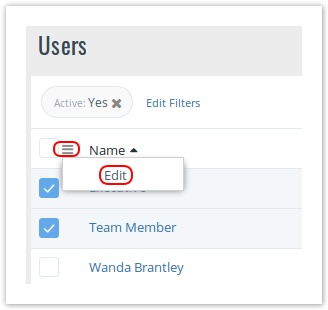
To edit a single User:
- From the main menu, click on View and click on Users.
- Point to the user and from the actions menu ☰ click on Edit.
- In the new pop-up, edit the required information and click Save. The changes are saved.
- When you edit a user to change password, the user receives an email that the password was changed. The email does NOT contain the new password. You need to update the customer with the new password separately.
- When creating Virtual users, all you need to do is create a user without Login and Password.
- When you convert a virtual user to a login-able resource i.e provide login details, an email is sent to the new user.
To edit users in bulk:
- From the main menu, click on View and click on Users.
- Select the users whose below attributes you wish to edit and click on Edit from the ☰ option.
The following attributes can be modified. You need to select the checkbox besides the option to set the new value. You can check multiple options at one time.- Administrator Privilege: You can mark the selected users can Admin users or not with this option.
- Change Roles: Assign the Workspace :: Role to the selected user. The earlier assignments are removed.
- Dashboard like: The dashboard of the selected users can be set with this option. You need to pick the user whose dashboard will be copied.
- Work Calendar: Change the Work Calendar of the selected resources. The existing active task will be rescheduled to reflect this change.
- Cost Rate ($/Hour): Specify a cost rate to the selected users.
- Custom Fields: All custom Fields attached to a User are available.
- Click on Save. The changes are applied to the selected users.