/
4. Starting the Installation Process
4. Starting the Installation Process
- Rashmi Likhite
- Manasi Erande (Unlicensed)
Owned by Rashmi Likhite
Last updated: Mar 10, 2016
Before you actually start the process, make sure that you have completed the prerequisites. Follow the simple steps mentioned below for installing Celoxis successfully at your end.
- Start the Tomcat server. For steps, refer here.
- Open one of the supported browsers.
- In the address bar, type http://your-server-name:8888 and press enter.
- In the new window, select Install Celoxis vX.X.X
In the URL, your-server-name needs to be replaced by
- localhost if you are on the server itself and doing the installation i.e. http://localhost:8888
OR - Name or IP address of the server http://cel0806RM:8888/ OR http://192.168.0.9:8888/
Following are the 6 easy steps you will need to follow. If you face any issues, during the following steps, refer here.
Step 1:
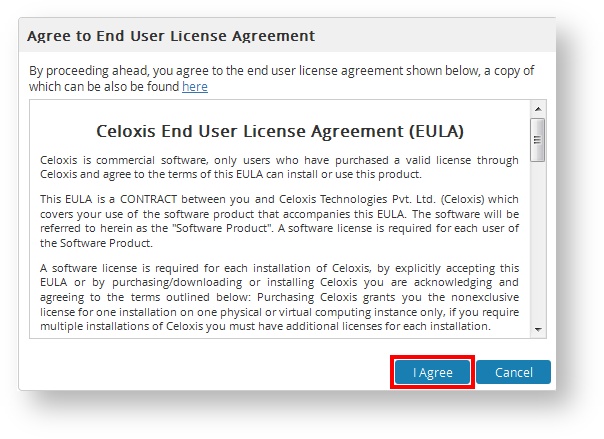
- Once the Tomcat server is up and running and you access the URL mentioned above, you should see the EULA, similar to the screenshot seen below.
- If you do not get this page, check the following :
- Ensure that the window of the Tomcat server remains open.
- Verify that you have typed the correct URL.
- Confirm that the port 8888 is not blocked by your firewall.
- Ensure that you are using one of the supported browsers.
- Click on Yes, I Agree!
Step 2:
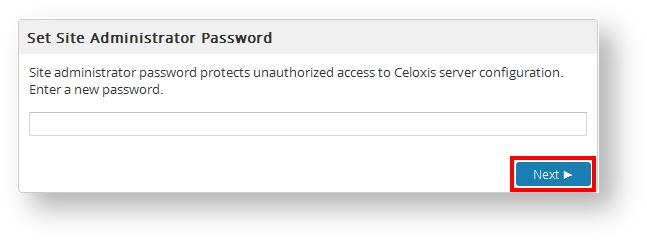
- You need to enter the Site administrator password here which is used to access the Settings > Site menu in the application which is used for setting up your mail server, LDAP, etc.
- Click on Next.
Step 3:
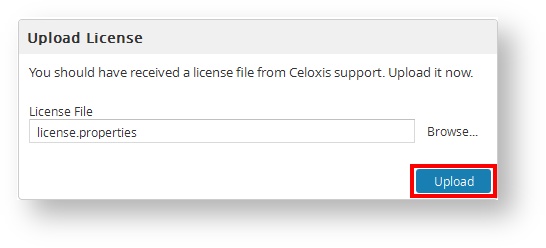
- Here, you need to attach the license file which must have been sent to you in a separate mail. The file needs to be unzipped before use. If the license file is tampered with, then the installation will not proceed.
- Click on Browse to select the license file.
- After the file has been selected, click on Upload.
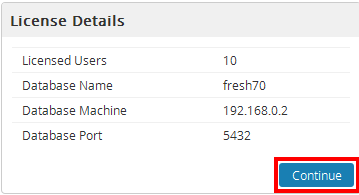
- If the license details are correct, you will see something similar. These are the license details as mentioned by you in the license request.
- Click on Continue.
Step 4:
In this step, you need to enter the database details so that the application can connect to the database.
- Database : Select the database type and version.
- Username : Enter the username of Celoxis database user.
- Password : Enter the password of Celoxis user.
- Click on Submit.
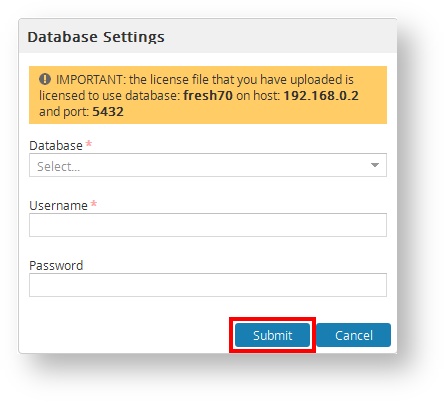
After entering the details, Celoxis will attempt to connect to the database. However, if you get errors, check the following :
- Ensure that the Username and Password are correct.
- In case of SQL Server, you need to mention the instance name if this is not the default SQL Server installation.
Please note that the instance name should be mentioned correctly during the license request else, the installation will fail. - Verify that there are no connectivity issues when the database and Celoxis server are on 2 different servers. No firewall is blocking the connection.
- For debugging, refer here.
Step 5:
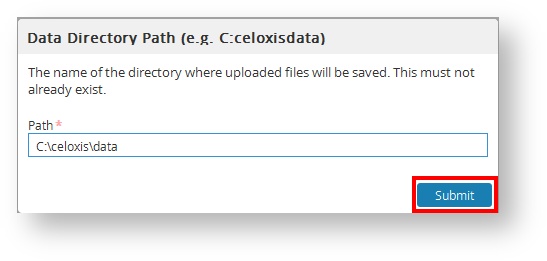
- You need to specify the path where the data directory will be stored. This includes your documents. The data directory should not be created already and will be created during this step.
For example, in the screenshot, the 'data' folder should not already exist. - Click on Submit. Your data directory will be created.
Step 6:
- You need to specify the Company details here.
- Click on Add.
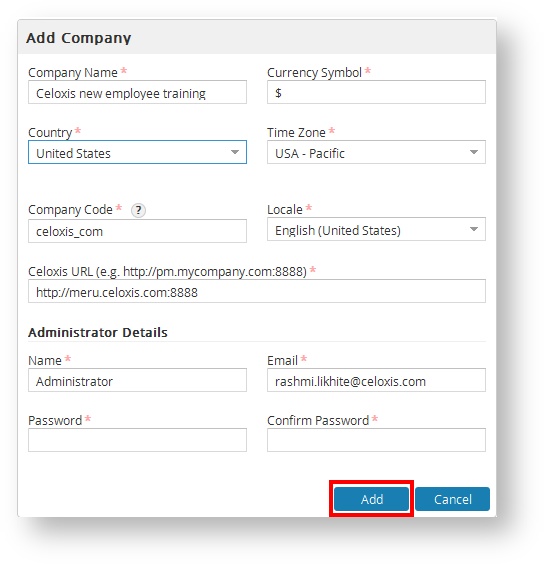
After this step, you will be shown your dashboard.
Congrats! You have installed Celoxis successfully at your end.
For post-installation steps, refer here.
, multiple selections available,