/
Creating Folders
Creating Folders
- Former user (Deleted)
- Rashmi Likhite
Owned by Former user (Deleted)
Last updated: Apr 15, 2016 by Rashmi Likhite
Every project in Celoxis has a project folder by default. Before you start uploading files in it, you may want to create a folder structure to better organize your files.
To create a folder :
- Navigate to the project where you want to create folder.
- Click on the project specific files report in the project from the list of reports on the left panel.
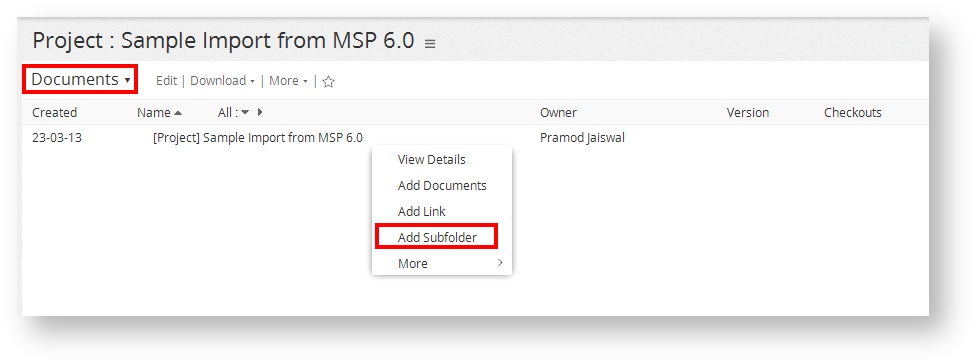
- By default, you will see a folder which has the project name. This is your project's folder. You can create folders in this.
- Click on the action selector drop-down for the project folder.
- Click on Add Subfolder.
- On the pop-up window, enter the Name and Details (if required).
- Click on Submit.
- The folder is created. You can now add files under this folder. You can also add sub-folders to the new created folder. All the folder related actions are available for this folders also
- To add sub-folders to the folder, click on the action-drop-down of the parent folder under which you want to create a sub-folder.
- You cannot add sub folders to a task folder.
, multiple selections available,
Related content
Creating Folders
Creating Folders
More like this
Create your first project
Create your first project
More like this
Create your first project
Create your first project
More like this
Uploading Files
Uploading Files
More like this
Uploading Files
Uploading Files
More like this
Project Templates
Project Templates
More like this