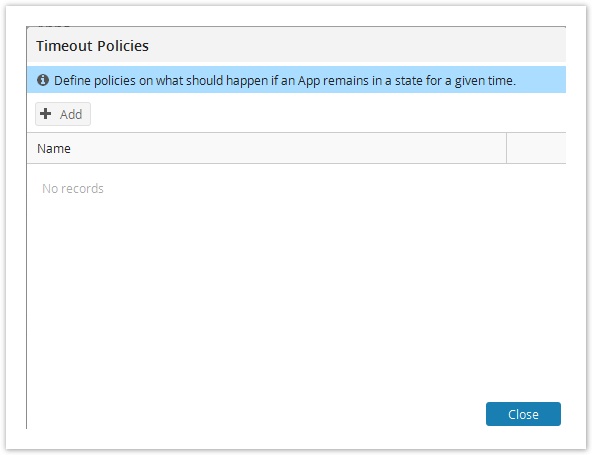
Timeout Policies tab
Timeout policies help you define rules on what should happen if an app remains in a state for a given time.
Adding timeouts to your app is a two-step process.
Step 1: Create timeout policies
- From the main menu, click on
 and then Company Settings.
 - Under the Custom Apps section, click on Apps.
- For a particular app, click on the Timeout Policies icon.
- Click on

- Give a suitable Name to the timeout policy.
- Under
- For the State listed, define the timeout (in hours) depending on the app's priority.
- You can either do a state transition when the timeout occurs
OR
Ask the User to enter the Timeout for the state by clicking on Override. In this case when doing a transition, you can set the date and time for the new state for timeout. - You can also mark process as delayed by checking the 'Flag as delayed' option for that state. The process will show up as 'Delayed' after the timeout occurs.
- Click on Save.
You can define multiple timeout policies for your app.
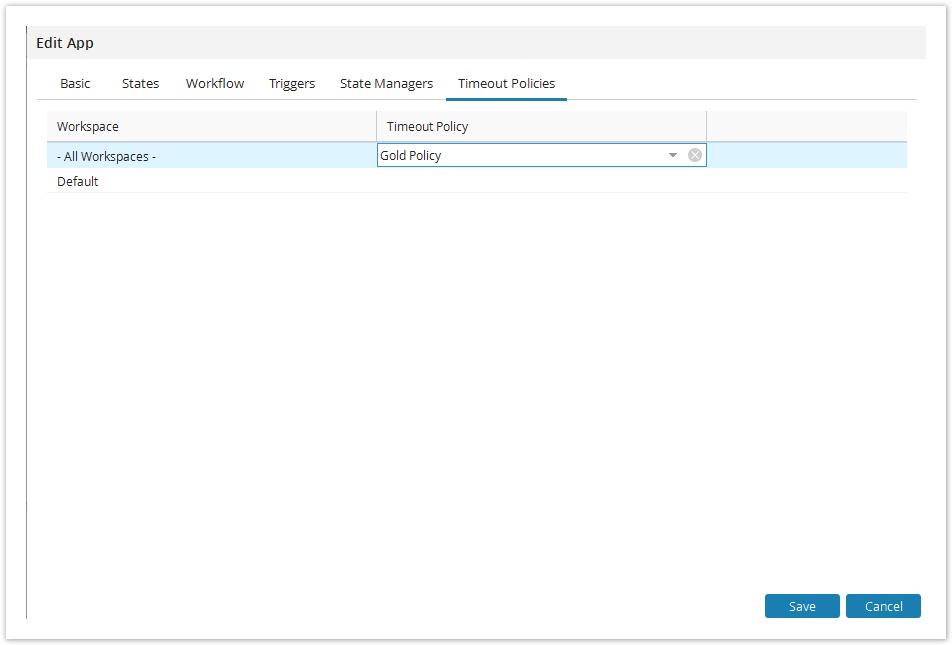
Step 2: Define default time out policy
- For a particular app, click on the Edit icon.
- Go to Timeout Policies tab.
- Select the appropriate workspace and specify the default timeout policy for that workspace.
- Click on Save.
, multiple selections available,